
Code Vein has 17 bosses, and defeating them all isn't always easy. Code Vein is an action RPG that is heavily inspired by the Dark Souls series, as well as Bloodborne and Sekiro: Shadows Die Twice, which means that it includes a lot of massive bosses with grandiose names. The fearsome designs and fancy titles aren't just for show, as many of the bosses in Code Vein could give the most difficult FromSoftware bosses a run for their money.
Code Vein has 17 mandatory boss encounters that are required in order to finish the game. There are other bosses that can be encountered by exploring the optional dungeons, but these are just stronger reskins of the ones that the player needs to fight over the course of Code Vein.
The combat system in Code Vein is heavily weighed against the player, due to how easy it is to be stun-locked and how enemies can easily tank moves without staggering. Code Vein gives the player all kinds of fancy moves with elaborate animations, but a boss can easily take the hits and strike back. The player needs to learn to be patient and learn the tells of the bosses, as they can quickly throw out powerful moves without any startup animations. The Sekiro: Shadows Die Twice money fighting trick won't work here, which means that the player will need to master evasion and timing in order to vanquish the bosses of Code Vein.
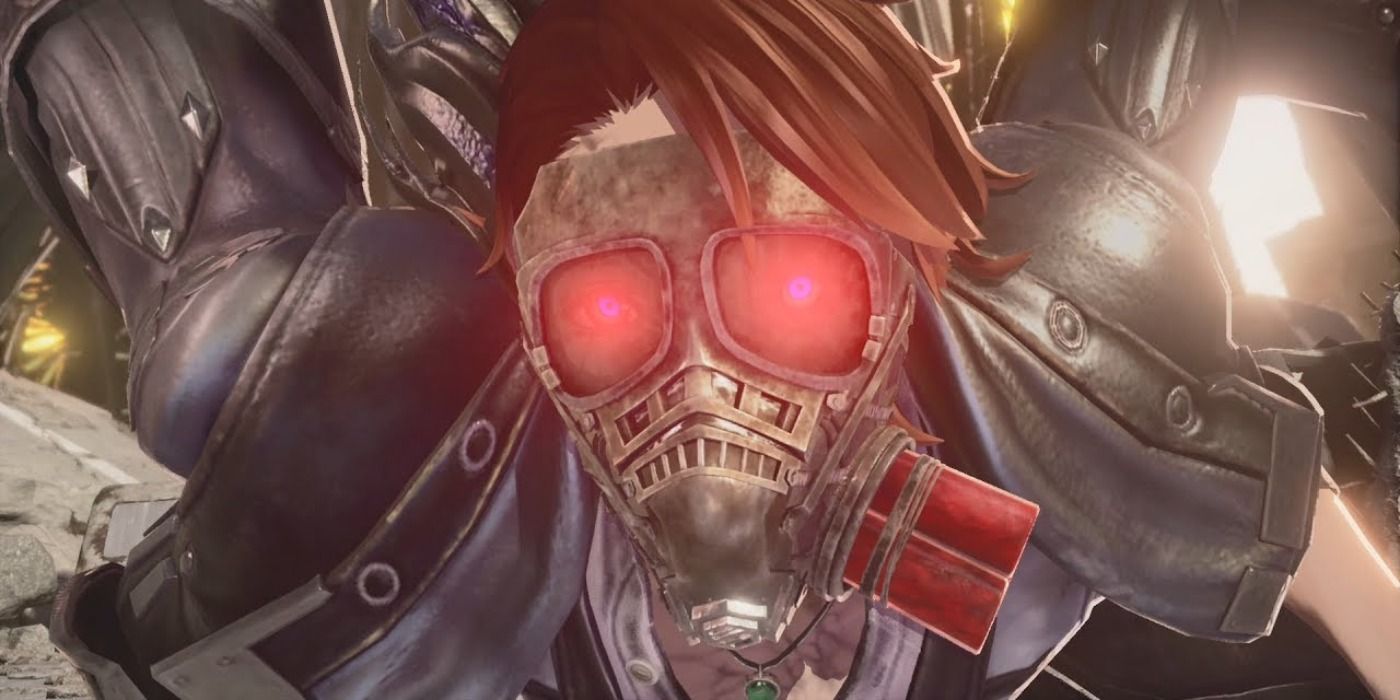
Oliver Collins has two different phases during his boss battle. In the first phase, he will just be a regular enemy who fights with a hammer. Oliver's hammer is easy to dodge and his strikes have a long end lag animation, which will give the player a lot of time to hit him before he recovers.
Once the player has knocked off half of Oliver's health bar, he will transform into a huge monster. Oliver's attacks will still be very slow, but they will have a wide horizontal arc that makes them much harder to dodge. Don't try to block his hits as they will still deal damage and will blow through the stamina meter. When Oliver raises his hand, immediately pull back and dodge roll away from him, as he is about to fire off a powerful area of effect spell that is centered on him.
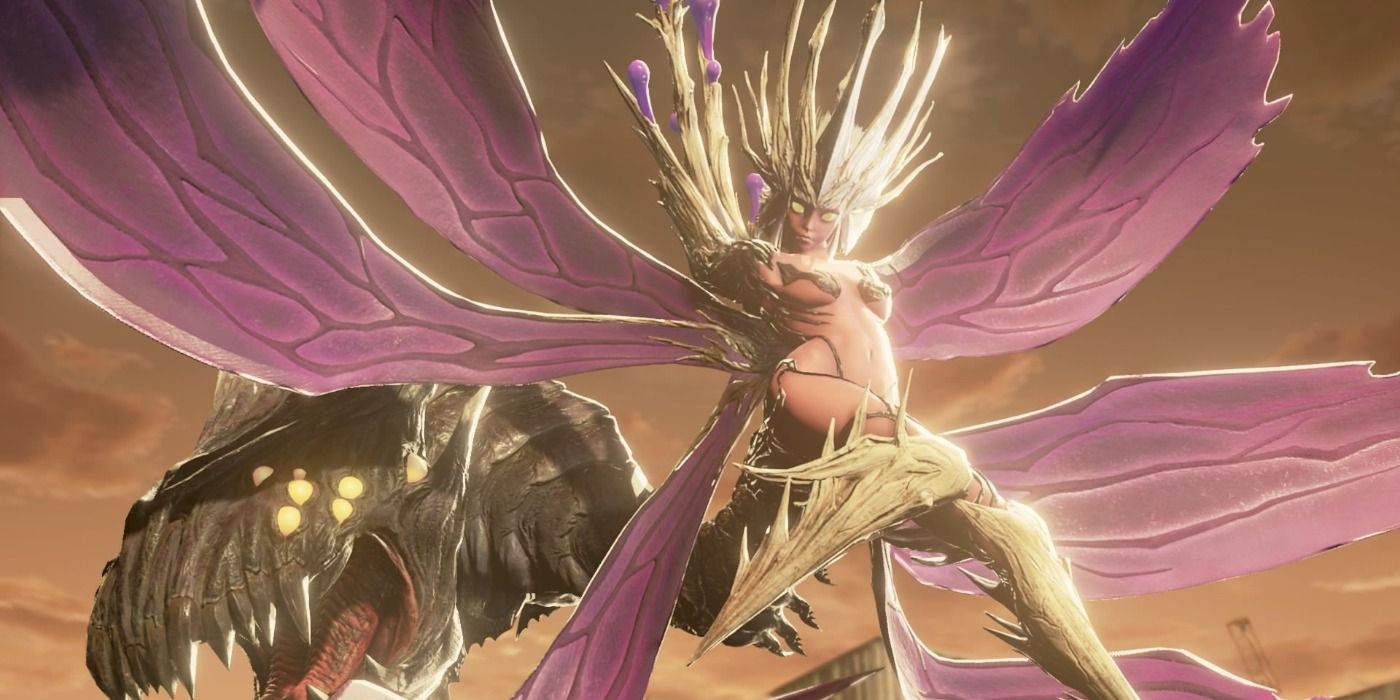
The Butterfly of Delirium will be familiar to those who played the Code Vein demo and it starts the trend of bosses with a lot of fan service in their design. It's important to prepare for the battle against Butterfly of Delirium by bringing lots of Antivenom into the fight, as most of her attacks can poison the player or their partner. Butterfly of Delirium has a massive attack range with its tail and it's never safe to run away to the other side of the arena, so it's best to always be ready with a dodge.
If she bunches up into a ball, then immediately dodge roll in the opposite direction, as she is about to fire off a cloud of poison gas. If she fires off a row of poison balls, then it's safe to block them, but if she fires off a single ball, then it will track the player around the arena and will need to be evaded until it dissipates. If Butterfly of Delirium takes enough damage, she will flop to the ground onto her knees, which means that it's safe to either run in and pile on some more damage or back up and heal.
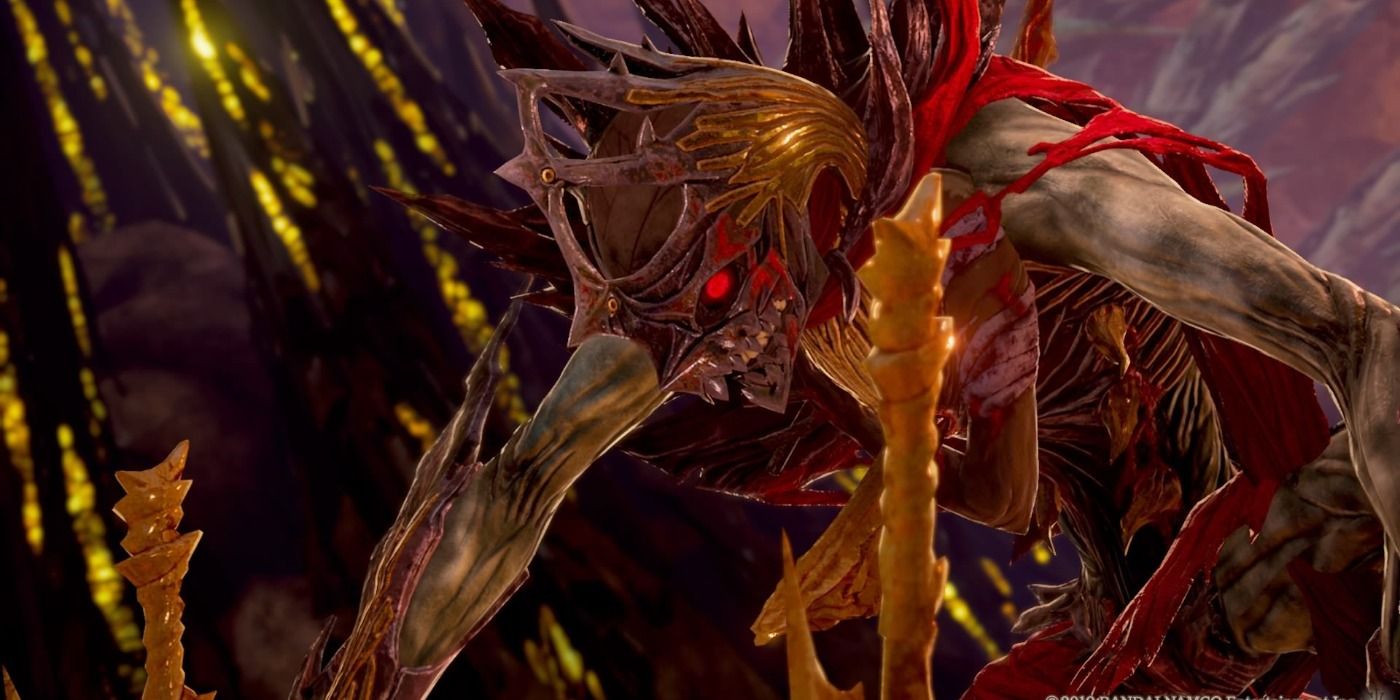
Insatiable Despot has two phases. In the first phase, it will slowly strike with its two daggers. These attacks are powerful but can easily be dodged and they leave it open to attacks. Insatiable Despot can summon minions and these should be dealt with instantly, as they can distract the player from the bigger threat in the room.
As soon as Insatiable Despot is reduced to half of its health, it will enter an animation where it attaches the daggers to the shaft in its chest to make a spear. Insatiable Despot can be damaged at the start of the animation, but it will quickly take way less when it reaches for the shaft, so it's best to pull back and heal if necessary or using a buffing Gift. When Insatiable Despot has its spear, the range of its attacks will be greatly increased and will even reach behind its body. All the player needs to do is be ready to dodge his attacks and then move in for a couple of hits, as they have a lot of end lag and it will be left wide open for counter-attacks.
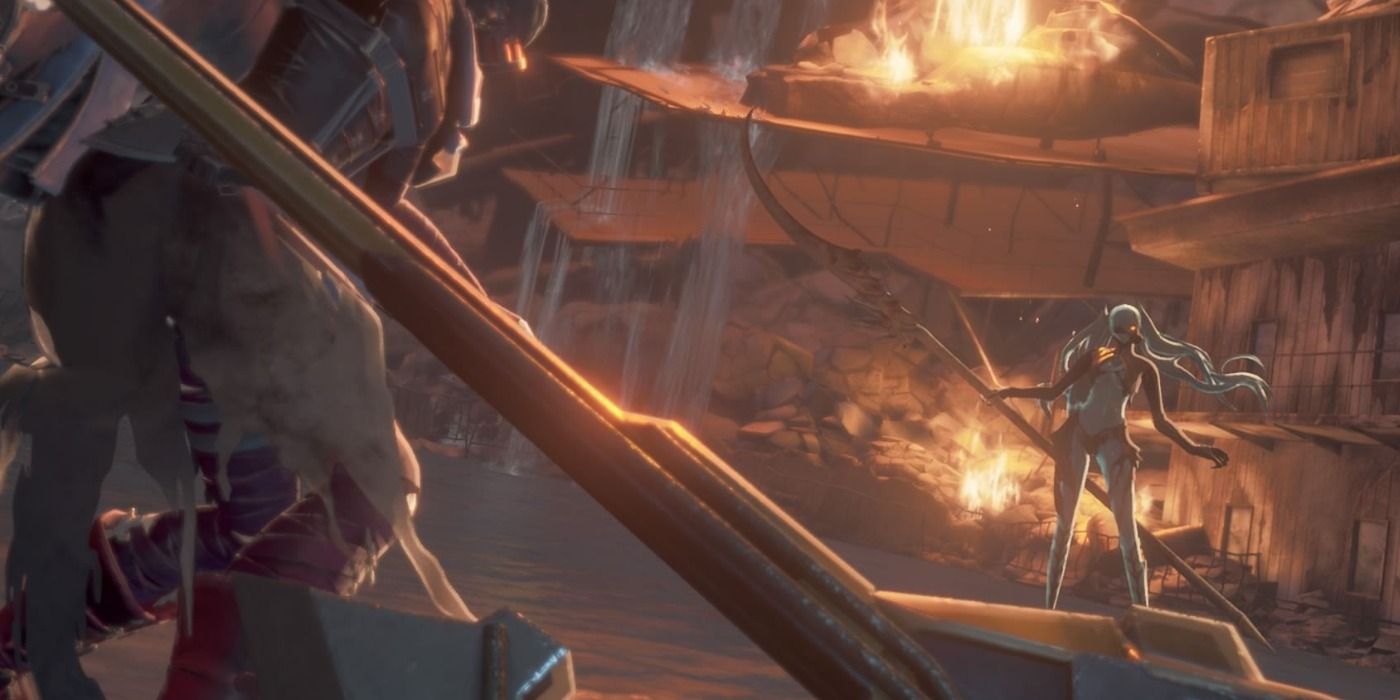
Invading Executioner is a tricky boss, as many of her attacks can inflict the slow status upon the player character, meaning that they won't travel as far when they dodge roll. Invading Executioner is also very fast and has almost no start-up animations on her attacks. If she climbs onto her spear and does her pole dance routine, immediately pull back and start blocking, as she is about to fire off a cyclone of water that is difficult to dodge and hits like a truck. If red energy starts gathering around her body, then dodge roll away, as she is about to fire off an area of effect spell.
Invading Executioner's spear has a lot of power and range, but it's generally safe to block or attempt a parry. When she starts with an attack, it will generally lead into a combo that culminates in a move where she spins her spear in a circle around her body. Invading Executioner is susceptible to being staggered and if she sinks to the ground, then it's safe to run in for a few hits or to back up and heal.
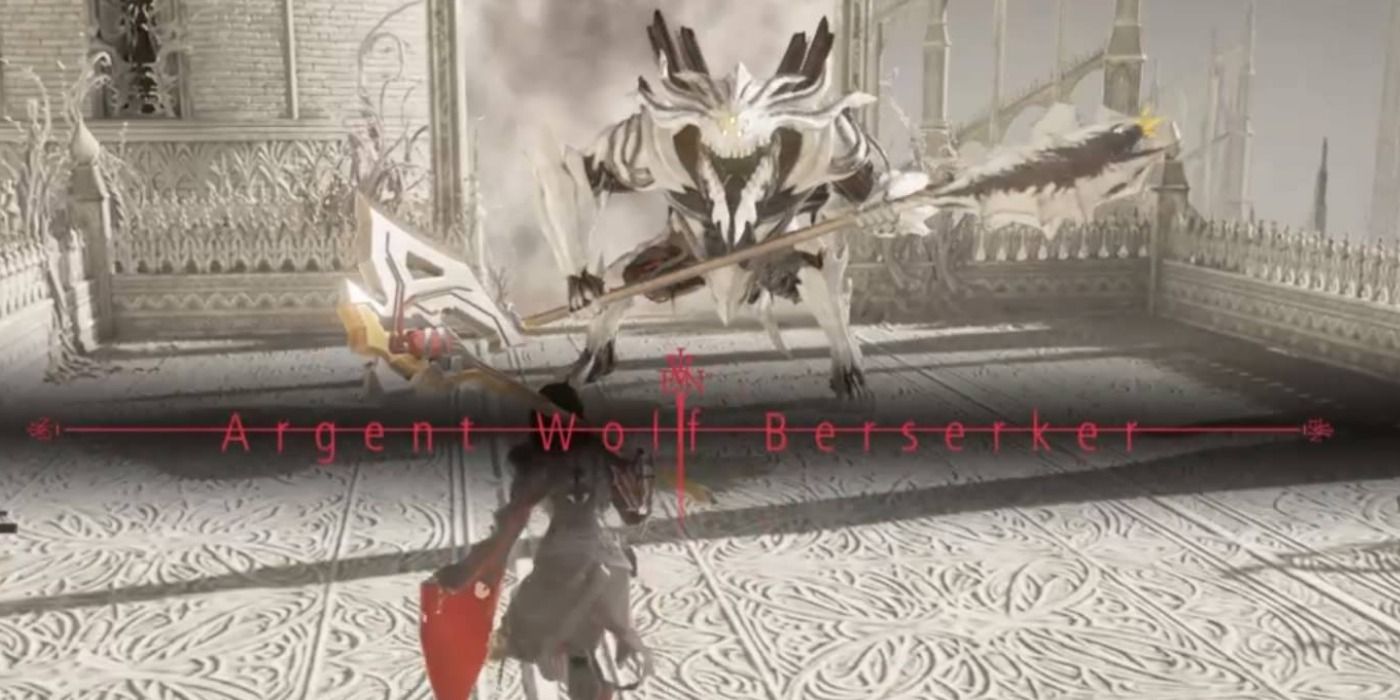
Argent Wolf Berserker might look like a tough boss, but he is one of the few in Code Vein who is susceptible to back-stabs. It's easy to dodge Argent Wolf Berserker's attacks and it only uses combos consisting of only one or two hits, so just evade them and run in for hits. If it summons red energy around its body, then it has made itself stronger, so don't even attempt to block its hits and keep rolling. All the player needs to do is keep circling Argent Wolf Berserker and go for back-stabs, as these will deal a lot of damage and create some breathing room to buff or heal.
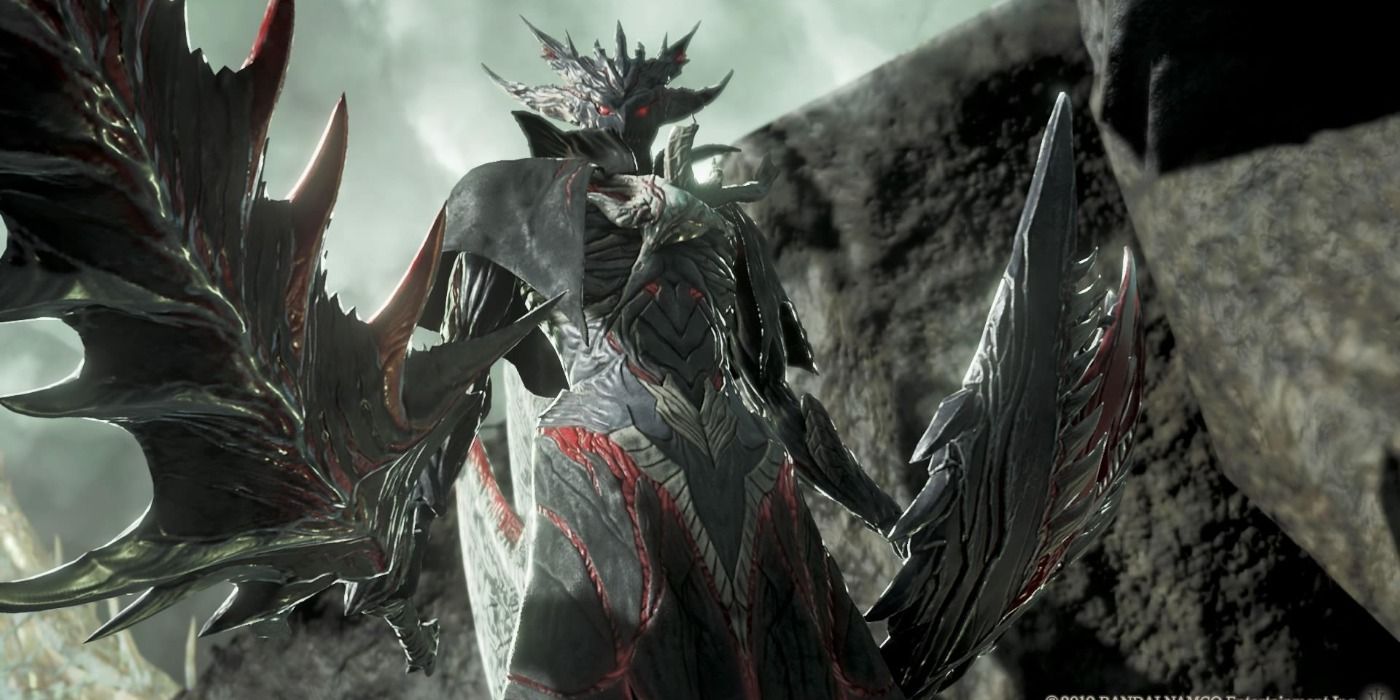
Queen's Knight is another boss who is slow but powerful. It's easy to dodge Queen's Knight's attacks and it generally uses combos of up to three hits. Queen's Knight has a lot of end lag after it uses its moves and is easy to stagger with heavy weapons, so there are plenty of opportunities to pile on the damage. If Queen's Knight jumps into the air, immediately start dodge rolling away, as it will perform an overhead attack that will ignore a block. Queen's Knight can launch itself across the screen, so players who favor ranged attacks will still need to be wary.
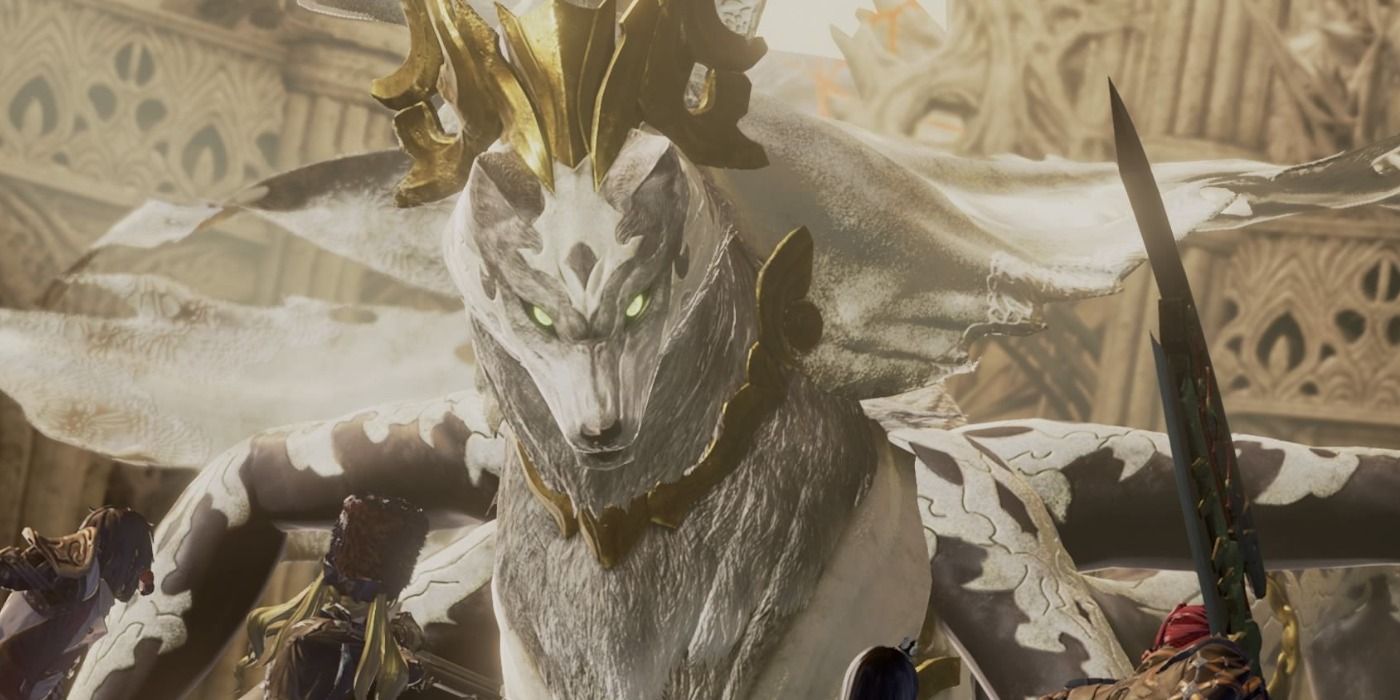
Successor of the Ribcage is a ranged spellcaster that can deal tremendous amounts of damage with its magic, but it has weak physical defense and low health. When the battle starts, Successor of the Ribcage will be on the far end of the room and the player will need to close the distance. There are several columns in the room and the player should run to them when Successor of the Ribcage starts casting a spell, but they still need to be ready to block or dodge, as its fire spell can hone in and avoid the columns. If a blue or red circle appears on the floor, then start dodge rolling, as blood energy or lightning are about to fly up from the ground.
If the player can get close to Successor of the Ribcage, then pile on the damage, as it's susceptible to being staggered. If the ground turns orange, then immediately dodge roll away, as it's about to fire off a powerful spell and teleport to the other side of the room. Once Successor of the Ribcage is defeated, a cutscene will play and the player will have to fight it again. The same tactics for the first fight apply to the second - just stick to the columns and hit its body for massive damage.

Successor of the Breath starts the battle holding a huge shield, which it will use to bash the ground in front of it. The attacks used by Successor of the Breath are quick and strong, but they have a lot of end lag that leave it open to being hit. Successor of the Breath is so strong that it's best to dodge its hits, as it will blow through the stamina meter if blocked. When Successor of the Breath sticks its horns in the ground, it's about to fling a spike of ice up from the ground. As soon as it sticks its horns in the ground, run behind it and get in a few free hits. If red energy appears around its hand, then dodge roll to the side, as it's about to fire a blast of ice from its hand.
When Successor of the Breath loses half of its health, it will throw away the shield and go on the offensive. Successor of the Breath will become a lot faster, so it's even more important to dodge its attacks, especially as it gains a lot of range with an ice sword that it can swing in its attacks. If Successor of the Breath jumps into the air, then block straight away, as it's possible to tank this move without taking too much damage, while rolling away will leave the player open to the massive area of effect of its attack.
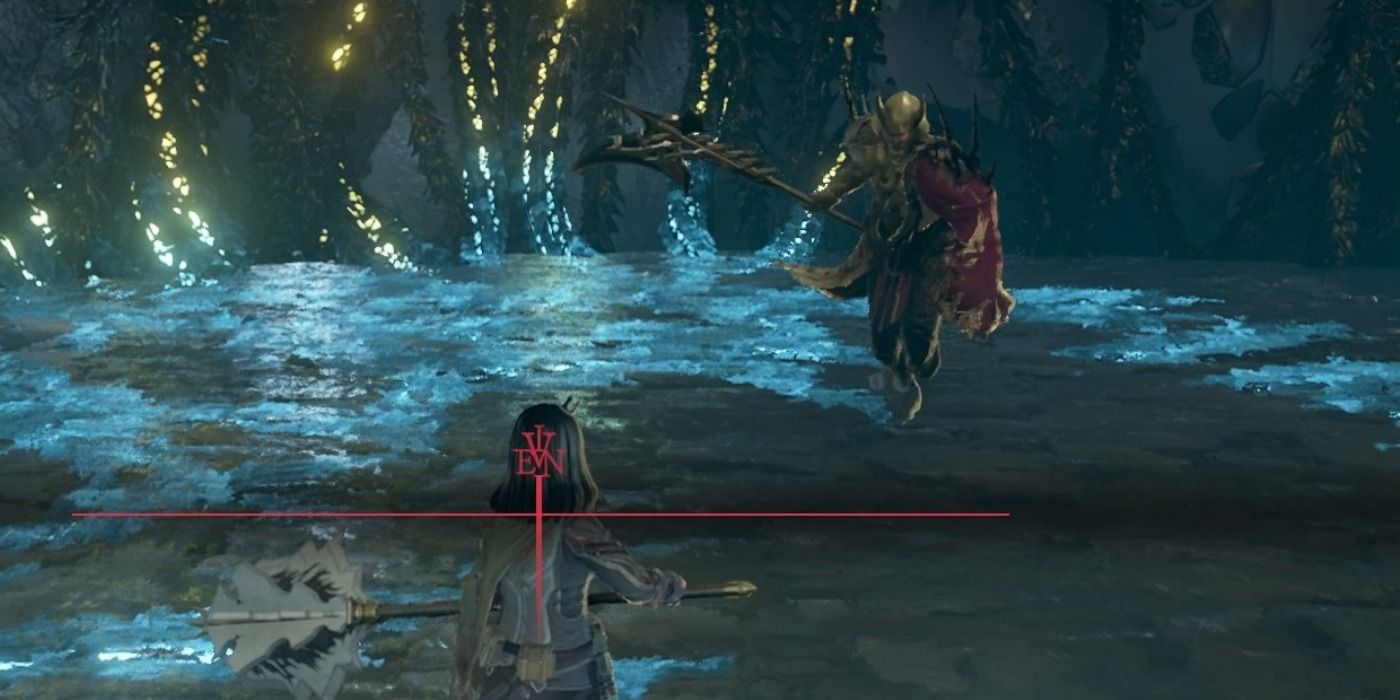
Gilded Hunter fights with a halberd and favors overhead swings, which means that many of his attacks will bypass a block. If Gilded Hunter raises his hand and red energy starts to appear, then back off and block, as he is about to cast a ranged spell. Gilded Hunter's attacks have a longer start-up animation than most other bosses and he is easy to stagger with heavy attacks, so just be patient and wait for him to finish his attacks before going in for the kill.
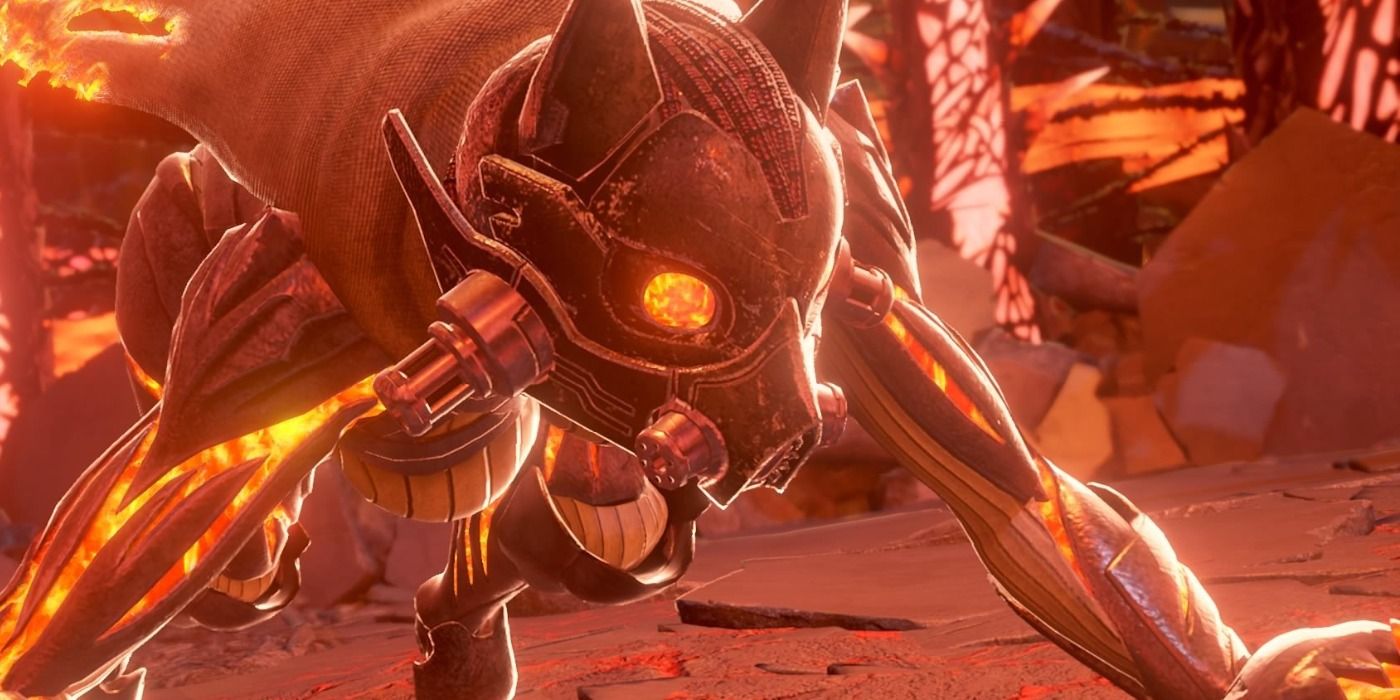
Successor of the Claw is a boss who uses swift strikes and long-ranged spells. One of the spells used by Successor of the Claw creates three balls of fire, but even if they miss they will turn into a ring of flame, so the player needs to be wary. Her melee attacks are fairly weak and can be dodged, but if she starts collecting fire into her body, then start running immediately, as she is about to use a powerful area of effect spell that is centered on her. If she throws a feather into the ground, then back off straight away, as it will explode. If she reaches for the sword on her back, then block straight away, as she is about to do a diving attack. Successor of the Claw is easy to stagger, at which point it's safe to run in and pile on the hits.
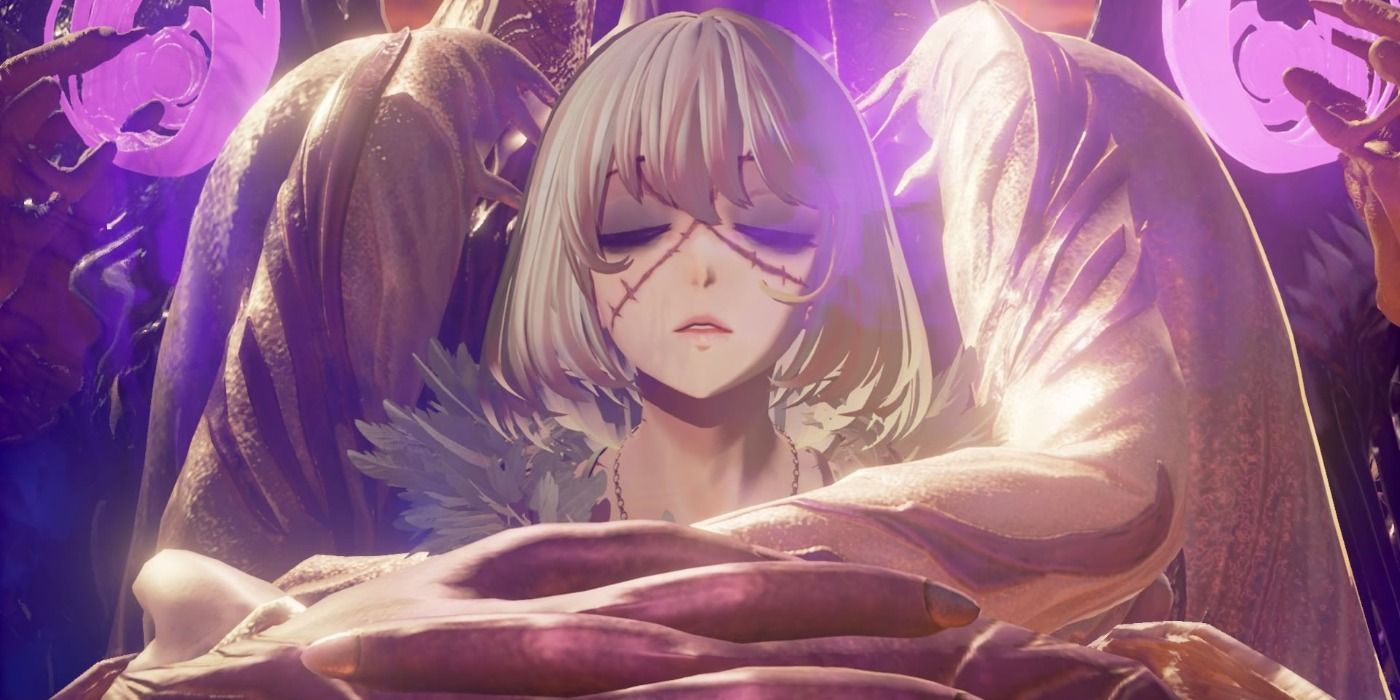
Successor of the Throat uses a similar power to Ruby Weapon from Final Fantasy VII, as she can stick her hands into the ground to summon claws made of sand that can attack the player. If she uses this move, then keep running and dodge rolling to avoid them. Successor of the Throat can fire off incredibly powerful blasts of sand, but she moves very slowly and tends to focus on a single character. It's possible to play defensively and allow the partner to deal most of the damage and then switch positions if she changes her focus.
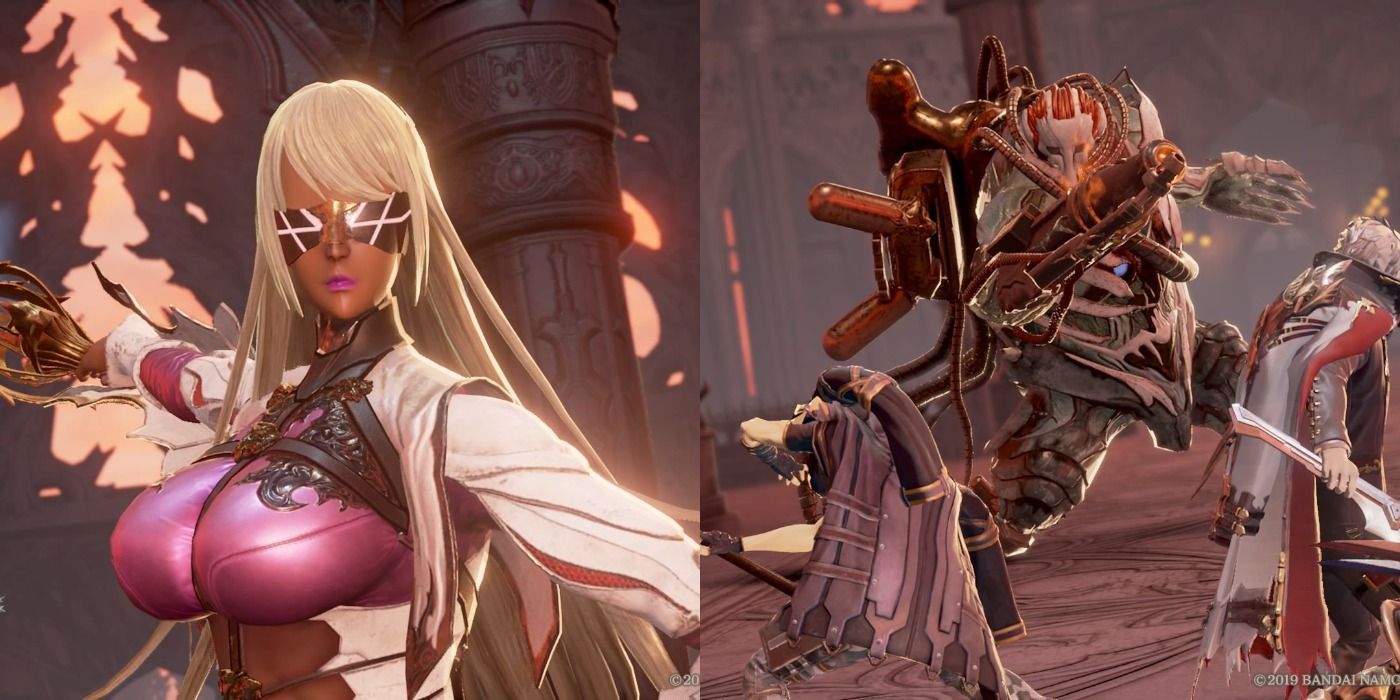
It's not an exaggeration to say that the fight against Cannoneer and Blade Bearer is the most difficult boss battle in Code Vein. There are bosses after this that hit harder and take more damage, but the fact that these enemies are fought together is what makes them so difficult. These bargain-basement copies of Ornstein & Smough from Dark Souls represent one of the most unbalanced fights in the game. It's possible to beat Ornstein & Smough with a drum kit, so maybe speedrunners will find some enjoyment in putting this new duo in their place.
The reason why Cannoneer and Blade Bearer are so difficult is due to how quickly they can fire off their attacks. The two of them prefer to engage one character and will try to keep them in the middle in order to attack from behind. It's important to try and keep both of these bosses within view at all times for this reason. Cannoneer has some slow strikes and a flamethrower that deals a lot of damage but leaves him vulnerable to attacks from behind. His most dangerous move involves lifting his hand to cause a pillar of flame to rush up from the ground, as this move has almost no start-up animation and can quickly kill an unwary player. Blade Bearer favors incredibly fast and powerful sword strikes that she can use from across the room. It's possible to parry these attacks, but this requires incredible timing and only leaves her vulnerable for a few seconds. She can also fire off ice spells, but these are slower and less dangerous than her physical attacks.
The best way to fight these bosses is to take down Cannoneer first, as he has moves that leave him vulnerable, so it's easier to dispose of him quickly and focus on Blade Bearer. This battle requires a lot of skill and more than a little luck. It helps for the player to tailor their equipment for this fight and add elemental affinities to their weapons and armor.
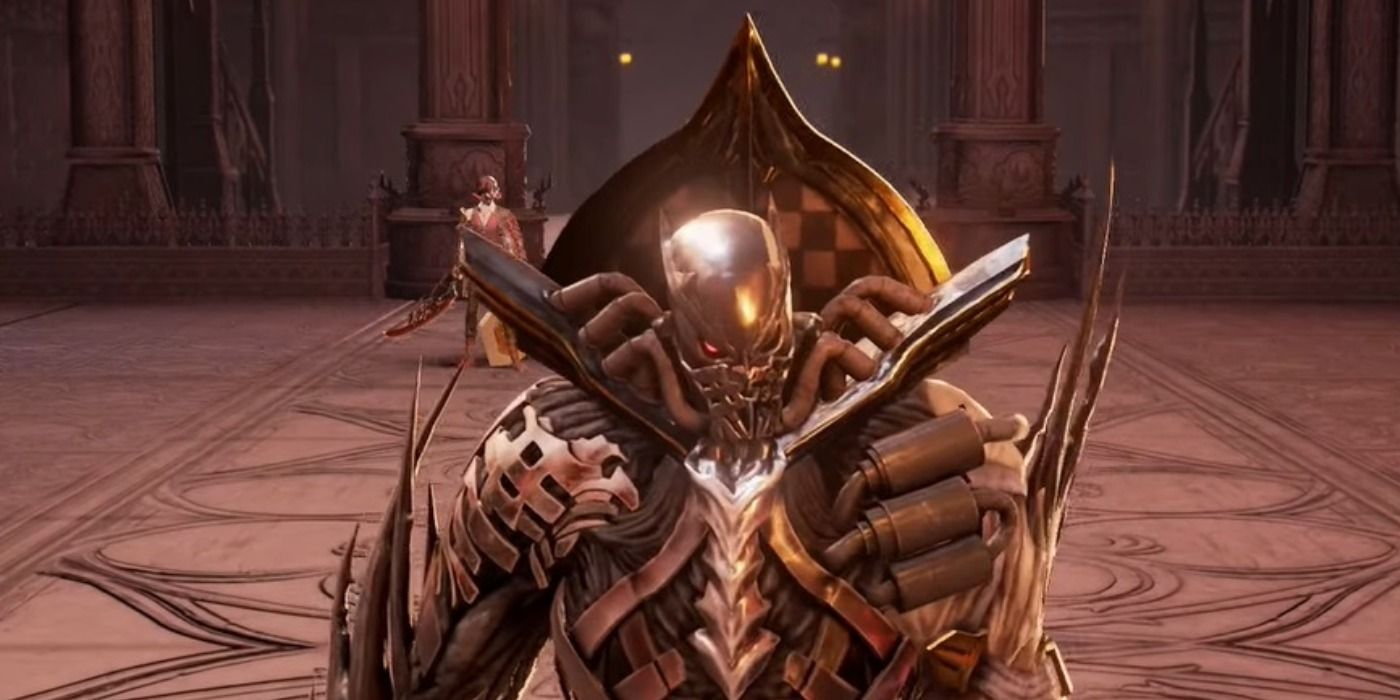
Juzo Mido is another slow-moving warrior in heavy armor and he is a major step down in difficulty from the last boss encounter. His sword strikes can be blocked or dodged depending on player preference and he can be staggered after taking a lot of damage. Once Juzo Mido has lost half of his health, his sword will be lengthened with magic and his range will drastically increase. If Juzo Mido casts a spell that causes circling black orbs, then start blocking immediately, as this is a time bomb spell that activates twice, meaning that the player shouldn't drop their guard.
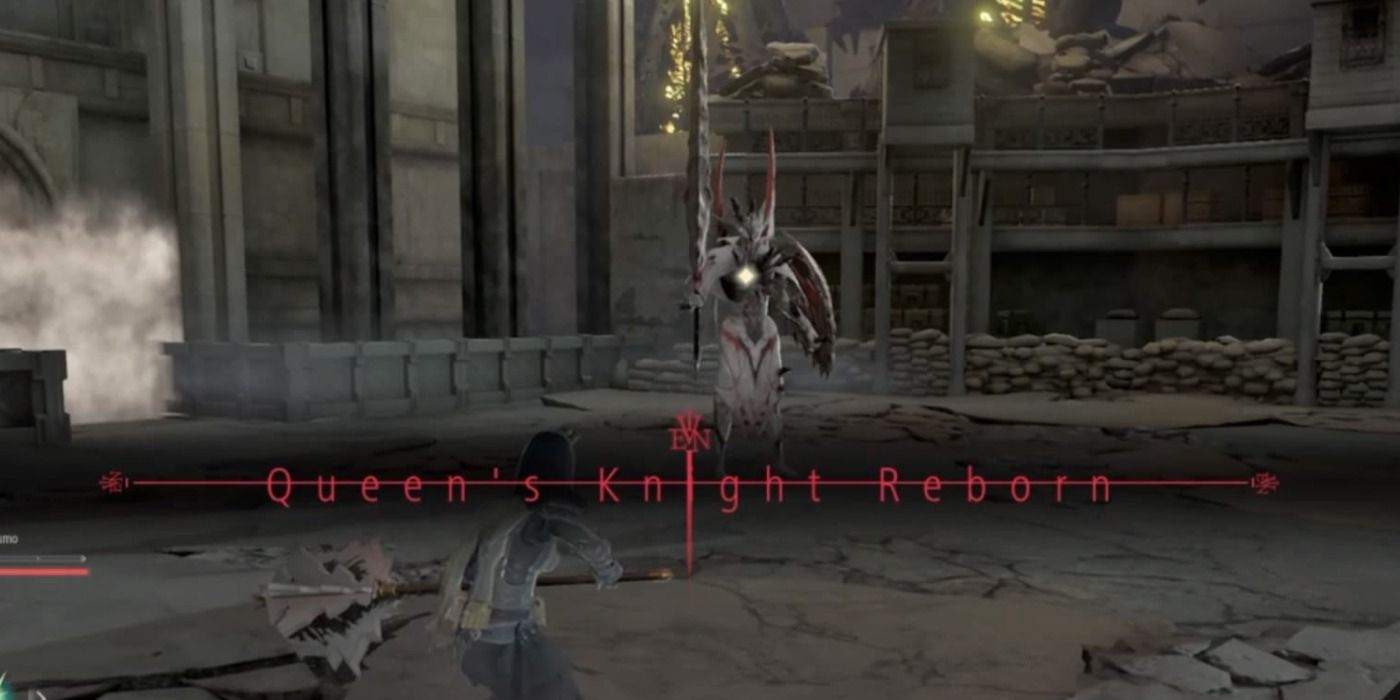
Queen's Knight Reborn is a beefed-up version of Queen's Knight and many of the same tactics apply to both monsters. The big new addition to Queen's Knight Reborn's arsenal is a teleporting move that it likes to spam and gives the player almost no warning as to which direction he will attack from next. The best bet with the teleportation move is to dodge roll to the side, as it's likely to go for a back attack or an overhead attack.
Queen's Knight Reborn has a weakness regarding its range. If the player can get right next to the front of its body, then some of its attacks won't connect, as its sword's hitbox starts further out from its body.
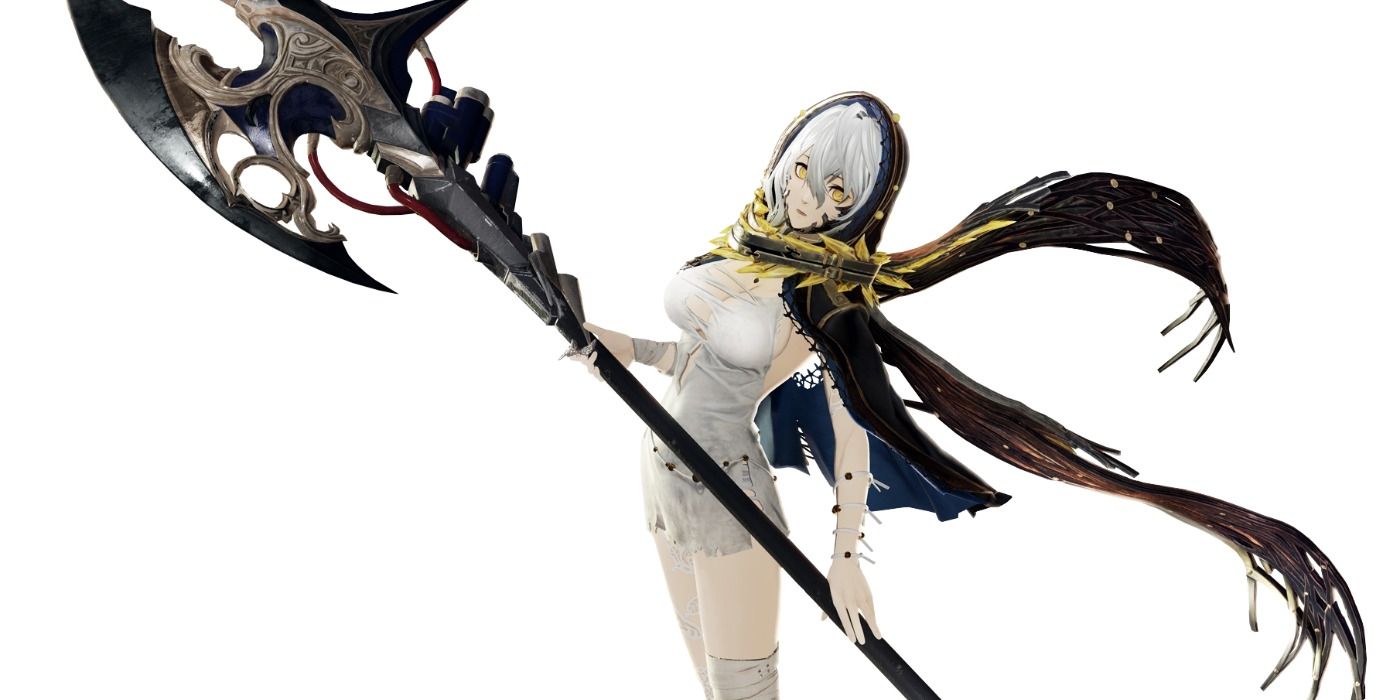
Attendant of the Relics barely feels as if it belongs on this list, as it's so easy to beat that it's hard to even give any advice other than hitting her a lot. The game treats her as a boss and gives her a title card, so she makes the list.
Attendant of the Relics is a copy of Io who fights in the same manner as the other enemies in the game, except that she has more health. Treat Attendant of the Relics as if she is any other enemy in the game - block or dodge her halberd and follow up with hits and she should go down easily enough.
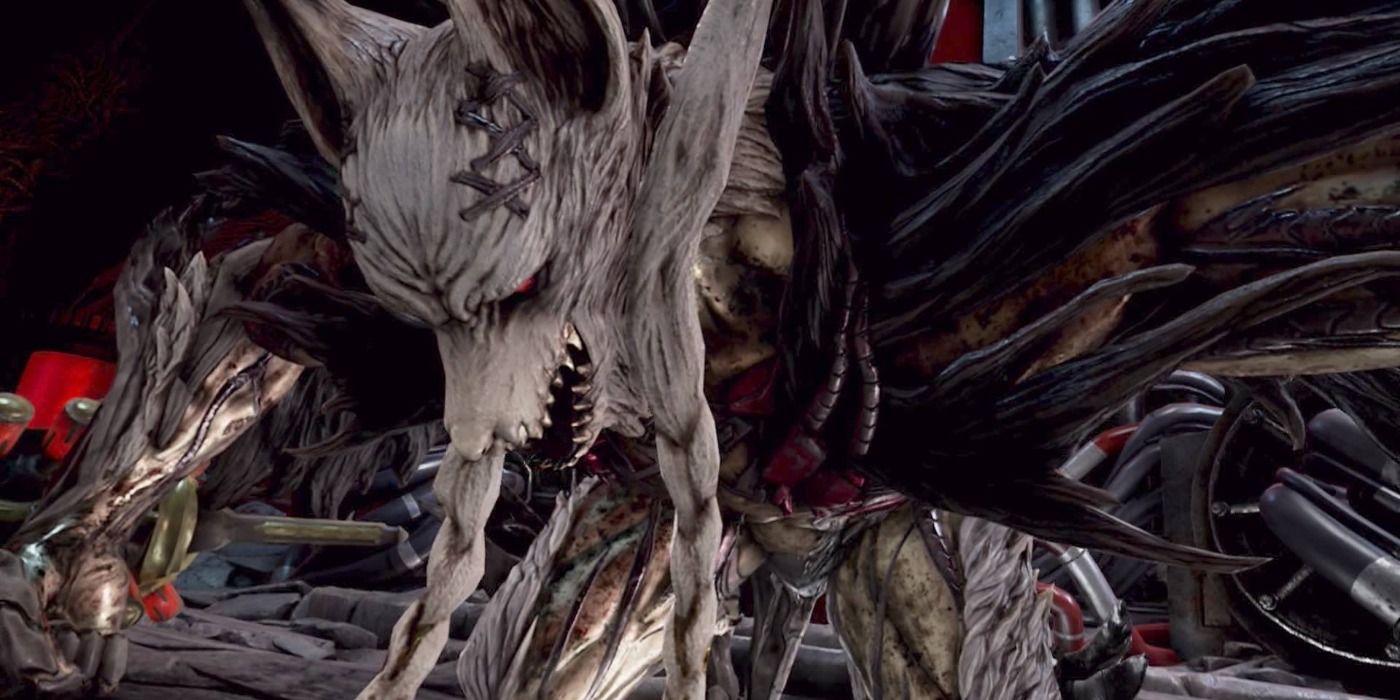
Skull King might seem like an easy foe at first, as its attacks are slow and predictable, but it gets stronger over the course of the battle and the last phase can be tricky to get through. As the battle goes on, Skull King's swords will gain more range and can fire off bursts of energy. The key to beating Skull King is dodging its attacks, as blocking will only evaporate the stamina meter. If he starts gathering red energy into his body, back away immediately, as he is about to use a powerful area of effect spell. The casting animation is one of his longer moves and it will give the player a chance to use a buffing Gift or healing item in safety.
Once Skull King enters its final phase, it will use incredibly fast attacks that have a lot of range. The best way to get through this is dodging and going in for single hits, as attempting a longer combo or special move will leave the player wide open to a vicious beatdown. The key to beating Skull King is timing and patience.

The Virgin Born favors spells with a massive range that can take up most of the arena. If blue light appears on the ground, then run away immediately, as it's about to use an extremely powerful area of effect spell. It's melee attacks are fairly well telegraphed and are easy to dodge, but they are still incredibly powerful. The Virgin Born favors spells that fire beams of energy and these require careful timing to dodge.
The best way to tackle The Virgin Born is to try and get behind it and attack its hind legs, as they offer one of the safest areas to attack without being struck by one of its spells. A weapon that has an overheard arc can also hit The Virgin Born's midsection. It's also possible to stagger The Virgin Born, which will leave it vulnerable to hits. When The Virgin Born has lost half of its health, it will start to glow and use a spell that allows it to float and fire blasts of energy into the ground, which the player should try to dodge. It helps to enter this battle with high defensive stats and hit points, as The Virgin Born's spells are so powerful that they can OHKO many characters.
from ScreenRant - Feed https://ift.tt/2mqIUk4

0 comments:
Post a Comment